 ----- The N2DVM BLOG of projects and what not. -----
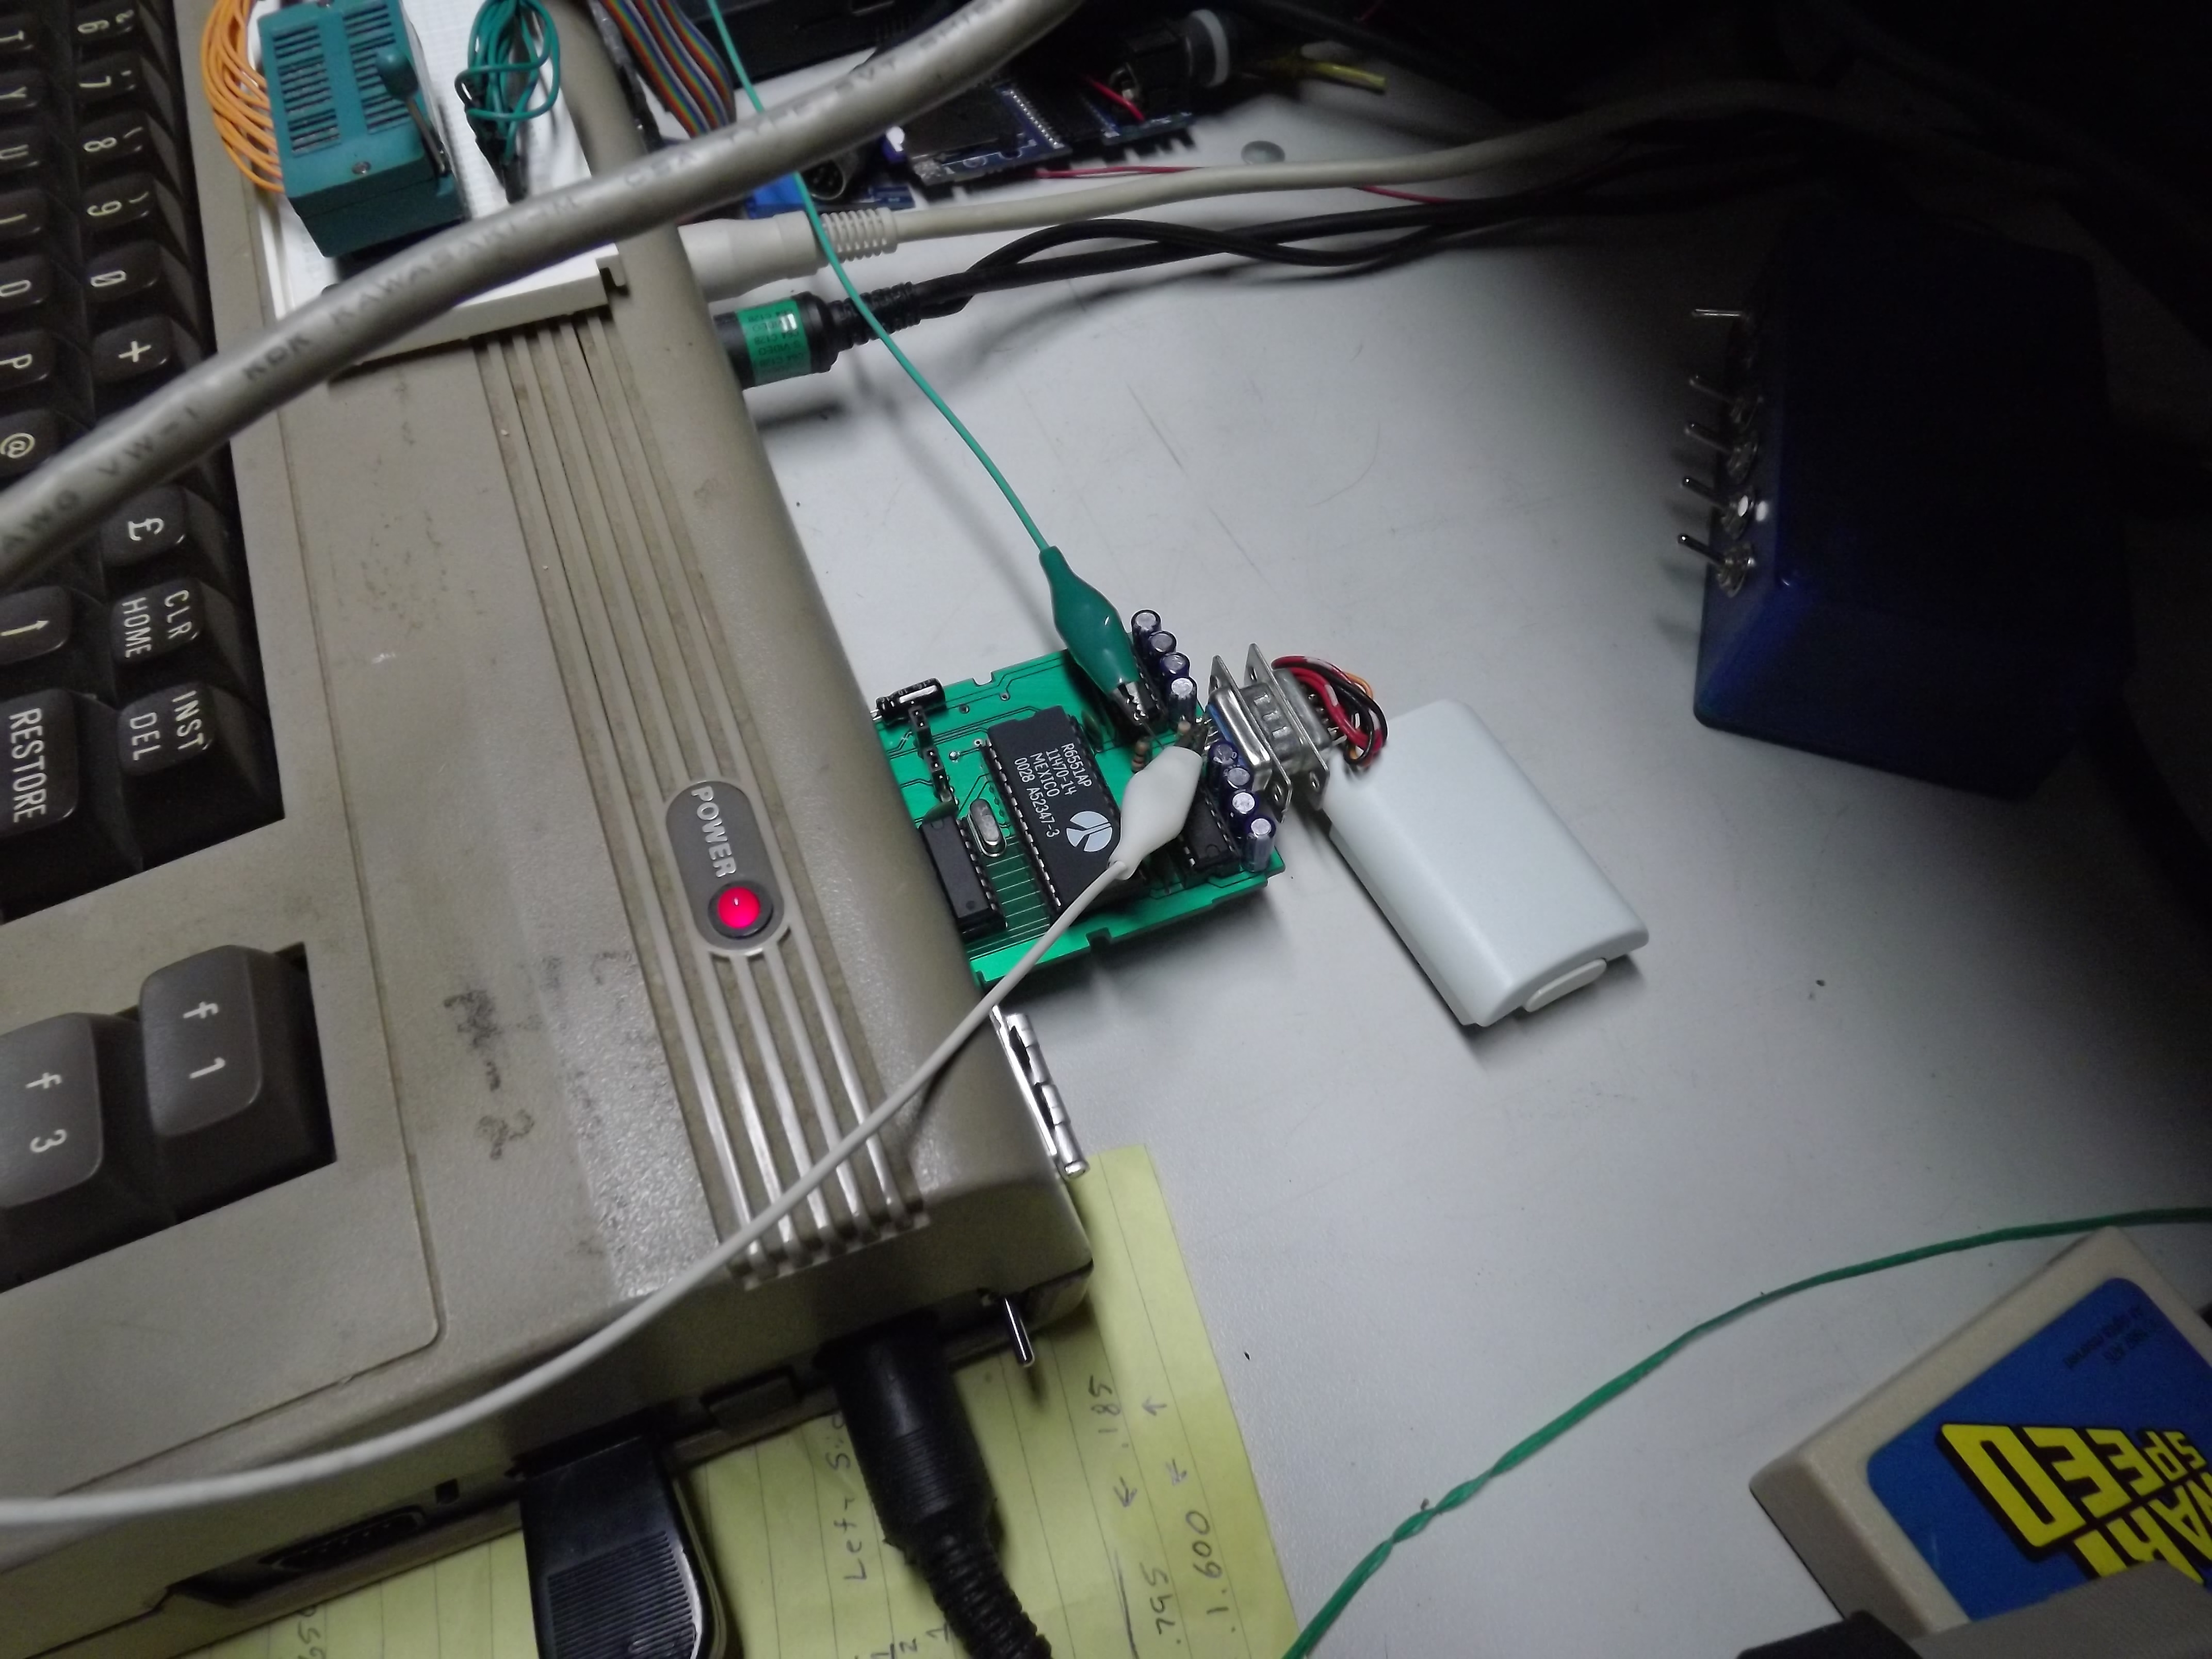
The green extender, I got that from somewhere, can't remember for the life of me from where but one night I needed something to extend the port on my 128D so it would be easier to get at, all I had was the green board. I got the idea to solder a connector on the end and it worked for what I needed it for.
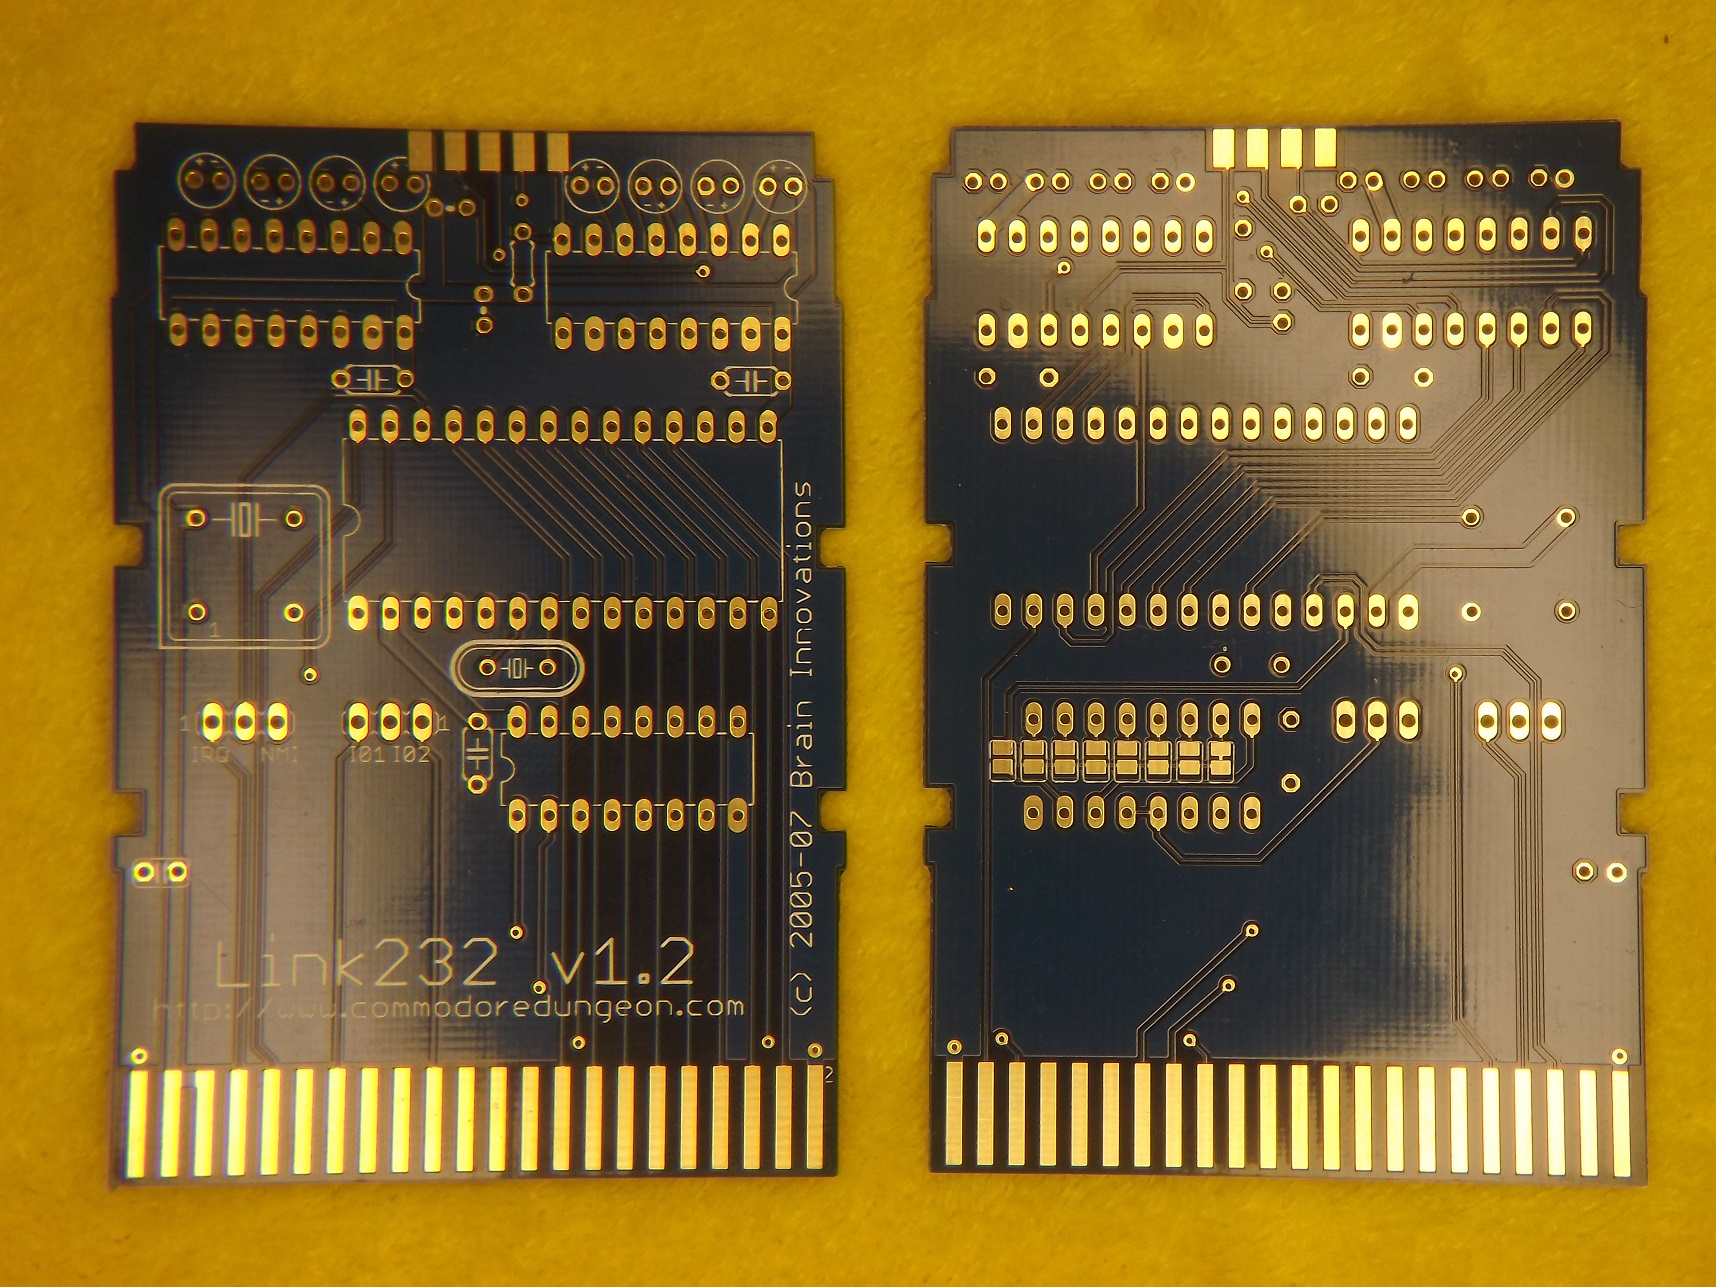
my friend mhoney on IRC (Zoomfloppy and Flyer Aluminum case fame.) was asking about something like it so I took a pic and showed it to him, he said "It's EXACTLY what I have in mind", along time back when I was making my kernel adapters I had drawn up such a board but never had it made. With what mhoney wanted, that got me to thinking about having the board made. mhoney donated %100 of the cost to have them made. What you see in the picture is the new boards. They are 3.150 inches long total. I screwed up the first order of 10 boards, I had my grid set for .025 and I thought it was .100. The VIAS (Thru holes) were spaced at .100 instead of the needed .200 so I ordered another batch of boards but this time I ordered 50 since I KNEW the connector edges and PCB width were perfect. What you see is the finished product. Bending the pins from the connector to fit down to the PCB was a bitch but after doing 3 of them, I'm kind of good at at. I'm NOT willing to do a ton of these though lol.


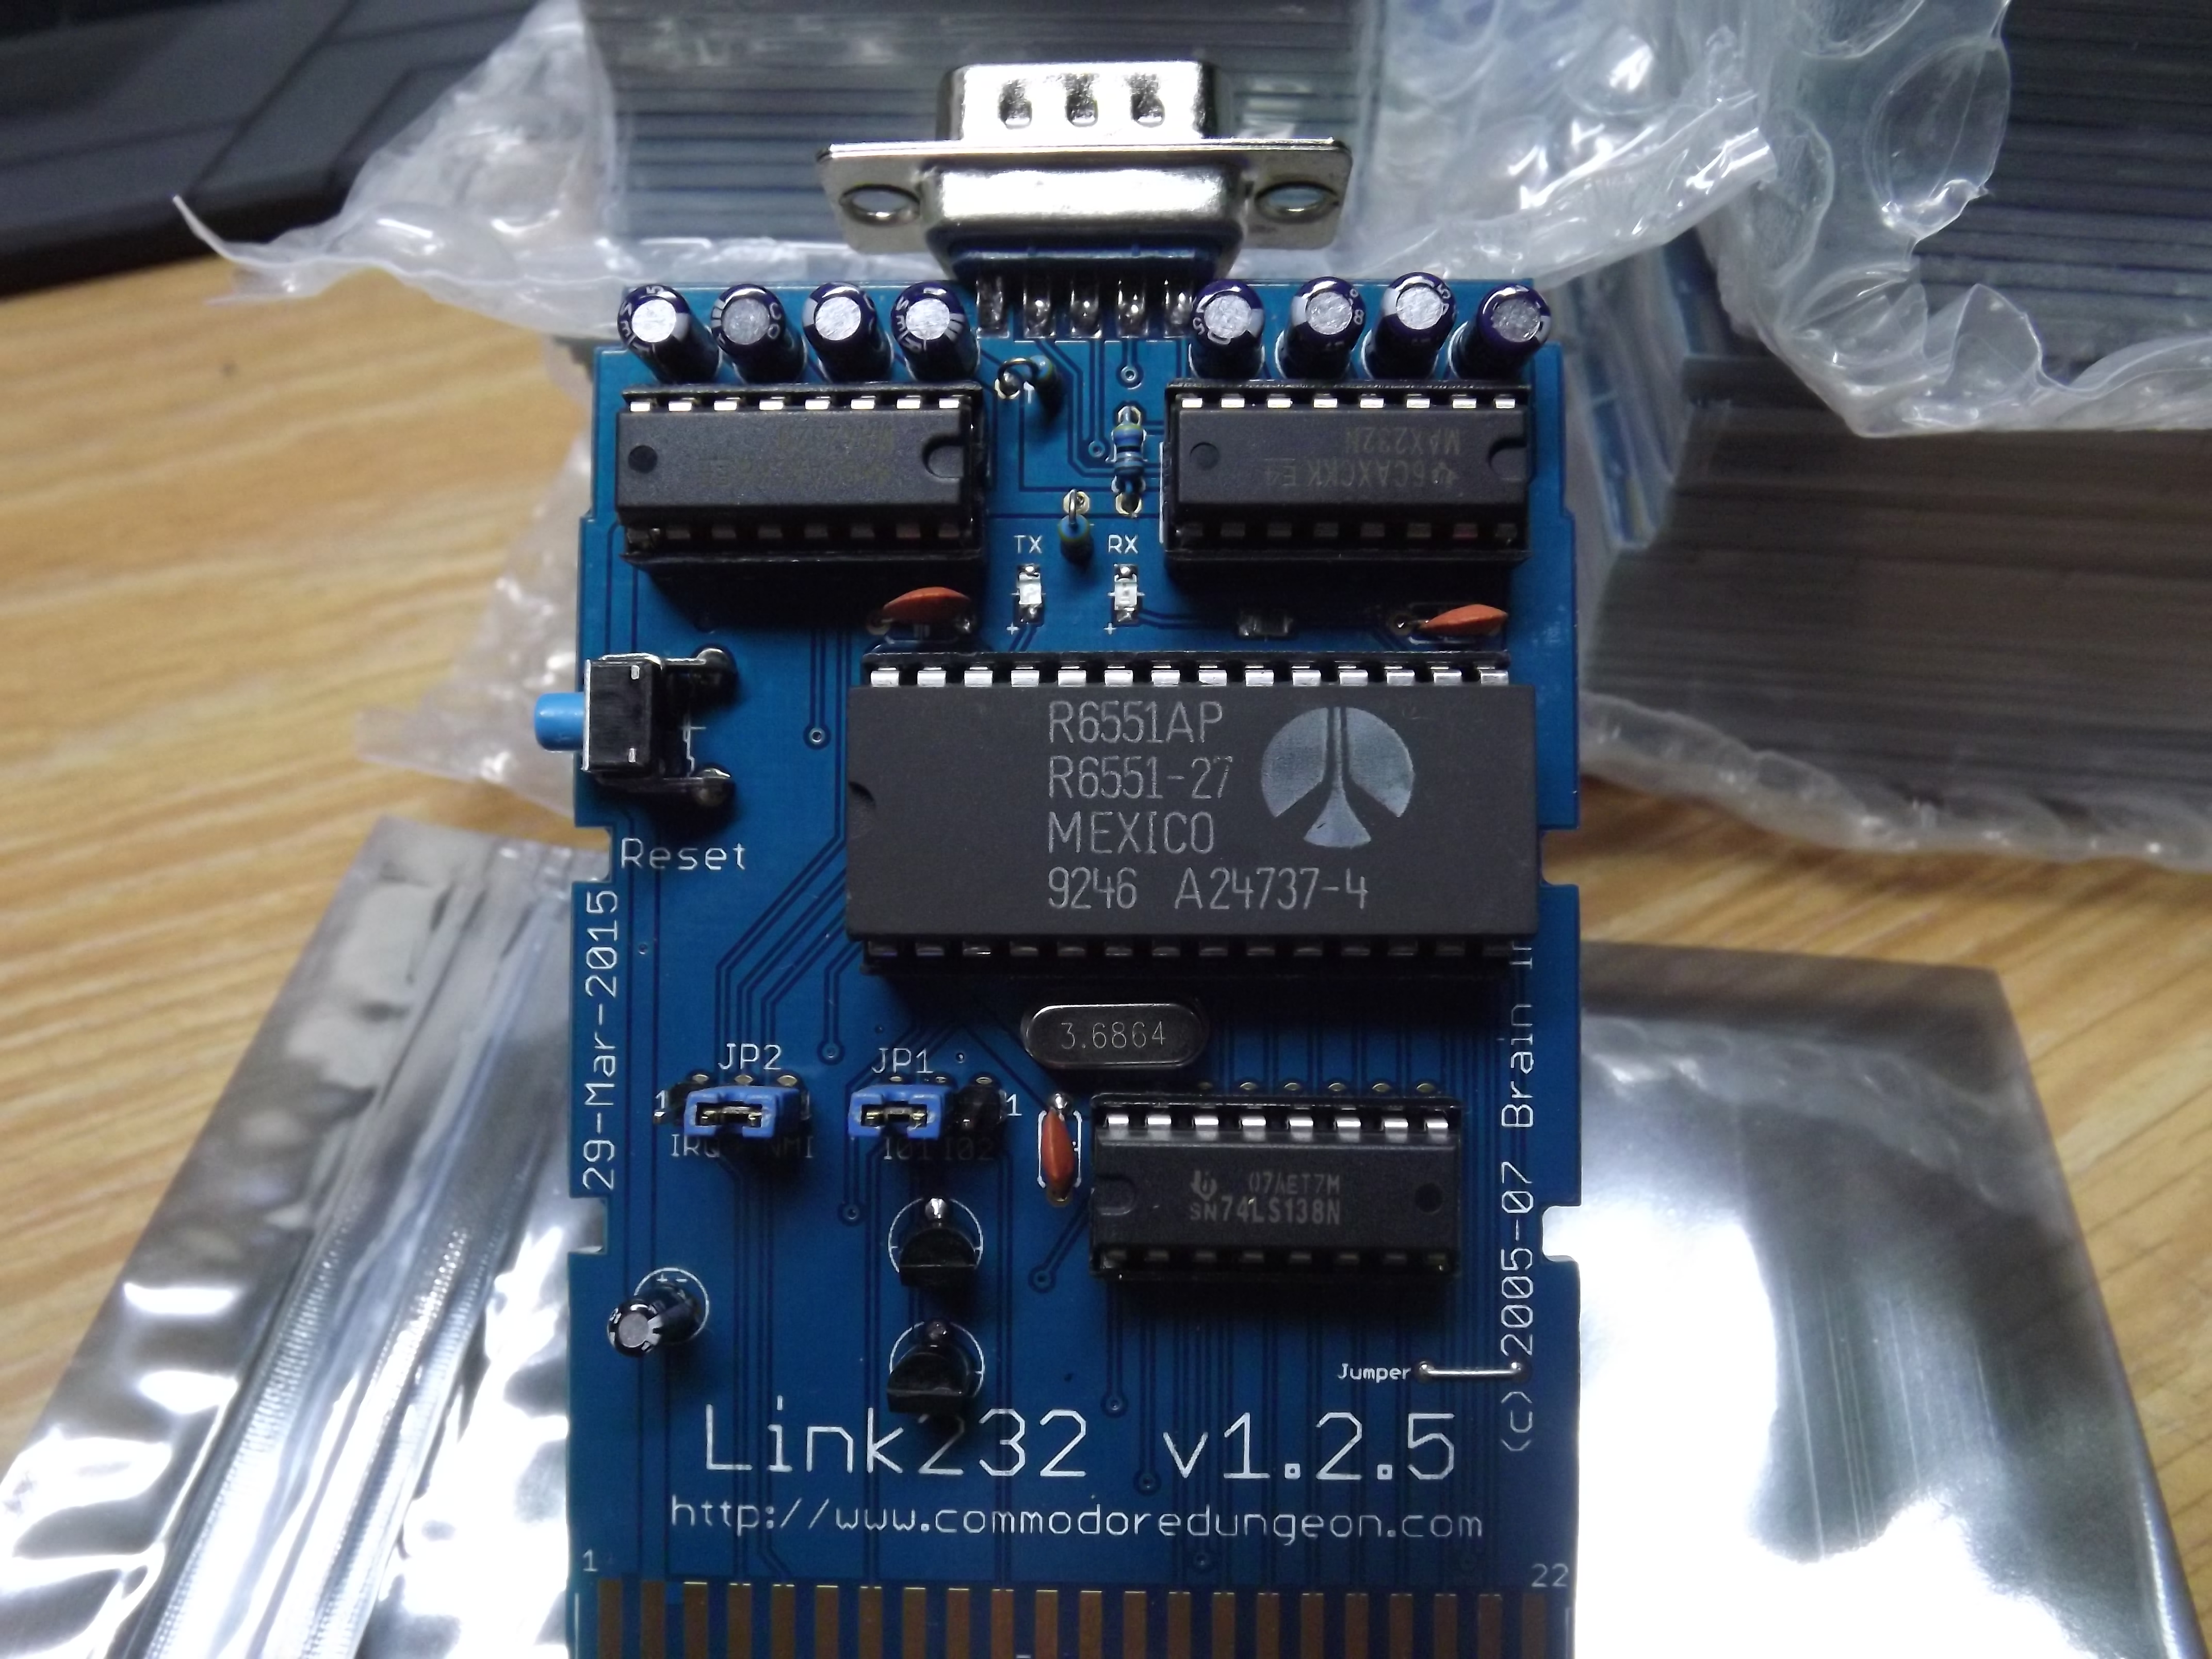
Today I got home from work and there was a nice DHL package there waiting for me. It was the new 100 Link232 RS232 cartridge boards. I modified the board a little from the v1.2 board. I now call it the v1.2.5 board. I removed the square metal can crystal footprint and changed a capacitor footprint to a electrolytic capacitor, I also added a reset switch and added TX and RX SMD LED's to the board as well as the two transistirs to control those LED's. I also made the board a little wider at the port, it now fits perfect. I must say it works perfect. The two LED's are just above the 6551 IC and in between the two MAX232 IC's marked TX (Blue led) and RX (Red led). I'm just waiting on the 100 omh 0805 size SMD resistors now. I pulled a couple from an old computer mother board. I save all my circuit boards for parts. :)

Also notice that the NEWEST Entry to the blog will be at the TOP. Someone suggested it and I thought it was a great idea. I forgot who suggested it though, sorry.
This morning I was on IRC talking to my good friends as usual on the Newnet/#c64friends channel. A guy (Dragos) suggested I put LED's on the TX and RX lines of the link232. I'm sure since I posting
a BLOG update that you KNOW I've accomplished it. I wanted to use all thru hole components BUT the board is pretty populated as it is so I had to use SMD resistors and LED's (0805 size) BUT I did use thru hole transistors (NPN 2N3094's).
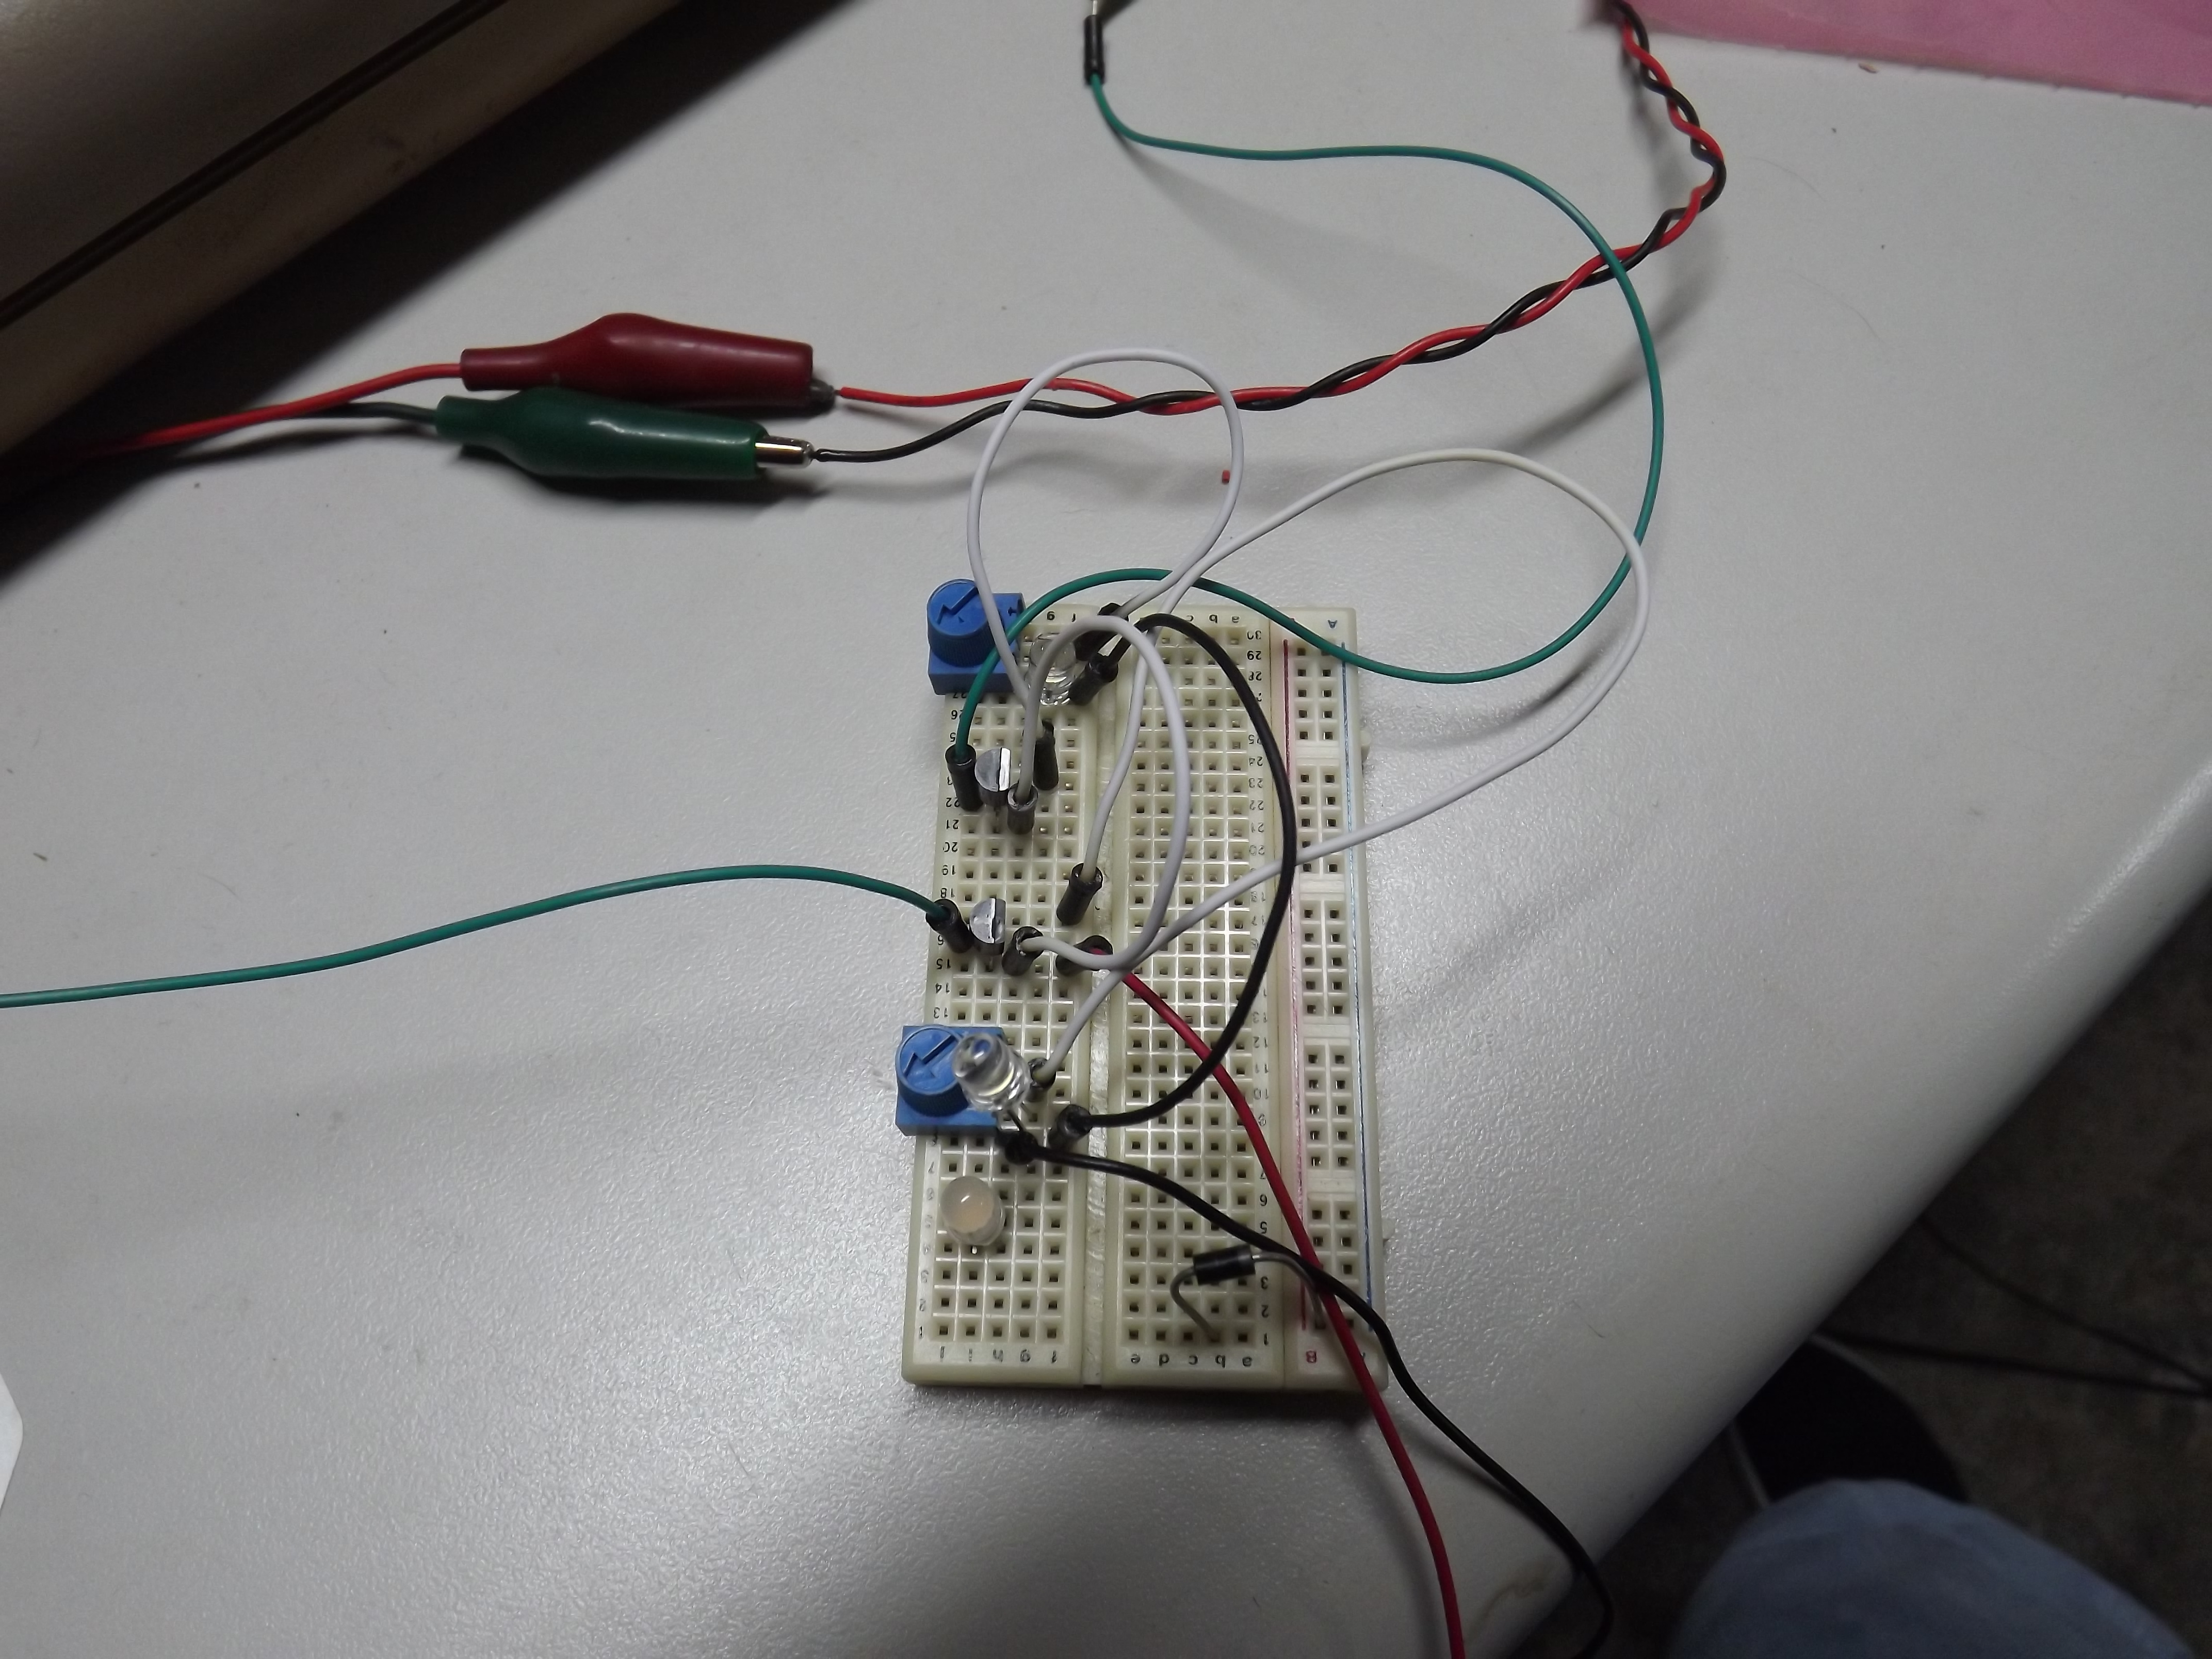
I purchased red and blue LED's from a US seller so I get them much faster. At the moment I'm not sure what resistors I'll be using. I need to do some more testing when the LEDs get here. I'm using that EAGLE PCB software, I love how I add the parts to the schematic drawing then they show up in the PCB drawing waiting to be placed and autorouted. Autorouting works most times BUT not today, two traces I had to hand route. One will require a jumper wire to be soldered. There was just no room to completly run the last trace. The one LED and diode are not part of the project. I just noticed that after I looked at the pictures. :)

Awhile back I bought one of those Final Cartridge III cart kits from SkydivinGirl on Lemon, Here is the thread. Lastnight I sat down and finally assembled it. I've been doing nothing but soldering lately so I was surprised I felt like soldering anything together. Ahhh well I get in those moods where I want to make things so it got done. The fit and finish of the PCB is excellent along with the assembly instructions found in the above thread.
I was again on Lemon lastnight and came across the thread, FS: Final 20 Completely Assembled Final Cartridge III+ Units and thought I would share it on my blog to help SkydivinGirl out. As of this posting she has 18 left. One Note, You will have to program an EEPROM for this cartridge. The links to the modded binary by SAM55 can be found in the topic threads.
If you buy a kit from her by reading in my blog here, let her know where you found out about it. I'm always willing to help others out when it comes to selling things related to out great passion and hobby.
I happy to report that the Amiga Plipbox PCB test is a success!! I am currently online with my Amiga 500 on IRC. I'm just waiting to get some of these 15 pin female headers to arrive. I don't want to solder the nano ethernet device to the PCB if I don't have to. I want to keep it as modular as I can just in case something goes wrong and something needs to be replaced. Most people don't like to solder, they just want to go plug and play and I'm all for that one myself.
I'm soldering up a few more ez232 User port RS232 adapters for sale. ($30 + $5.95) Ship. I also have the Link232 Swiftlink clone (Expansion port) with R6551 UART for sale @ $36.50 + $5.95 ship. These are the devices Dopple used to sell. The Link232 is a new Blue colored PCB with gold contacts for the expansion port. If you are interested in purchasing either of these devices, send me an email
I forgot to mention that when I went to ECCC Last Sept, I picked up an Amiga 500 system. It was complete with extra RAM, an HD (Impact Series II A500-HD+). It was already modded to use a CF card instead of an actual HD so it runs cooler and is much quieter too. It has the extra 512mb of RAM in the bottom door. SuperRam I think it's called. No idea as I'm still learning.
Tonight I finally got Amiga Explorer installed, I had to use a Null modem to get the XP PC and the Amiga to talk so I could upload the AExplorer to it. Now I can get files on to the HD with out much of a problem. Next up is to test my Plipbox PCB I had made. It's an Arduino based Ethernet adapter that connects to the parallel port. That's tomorrow nights project.
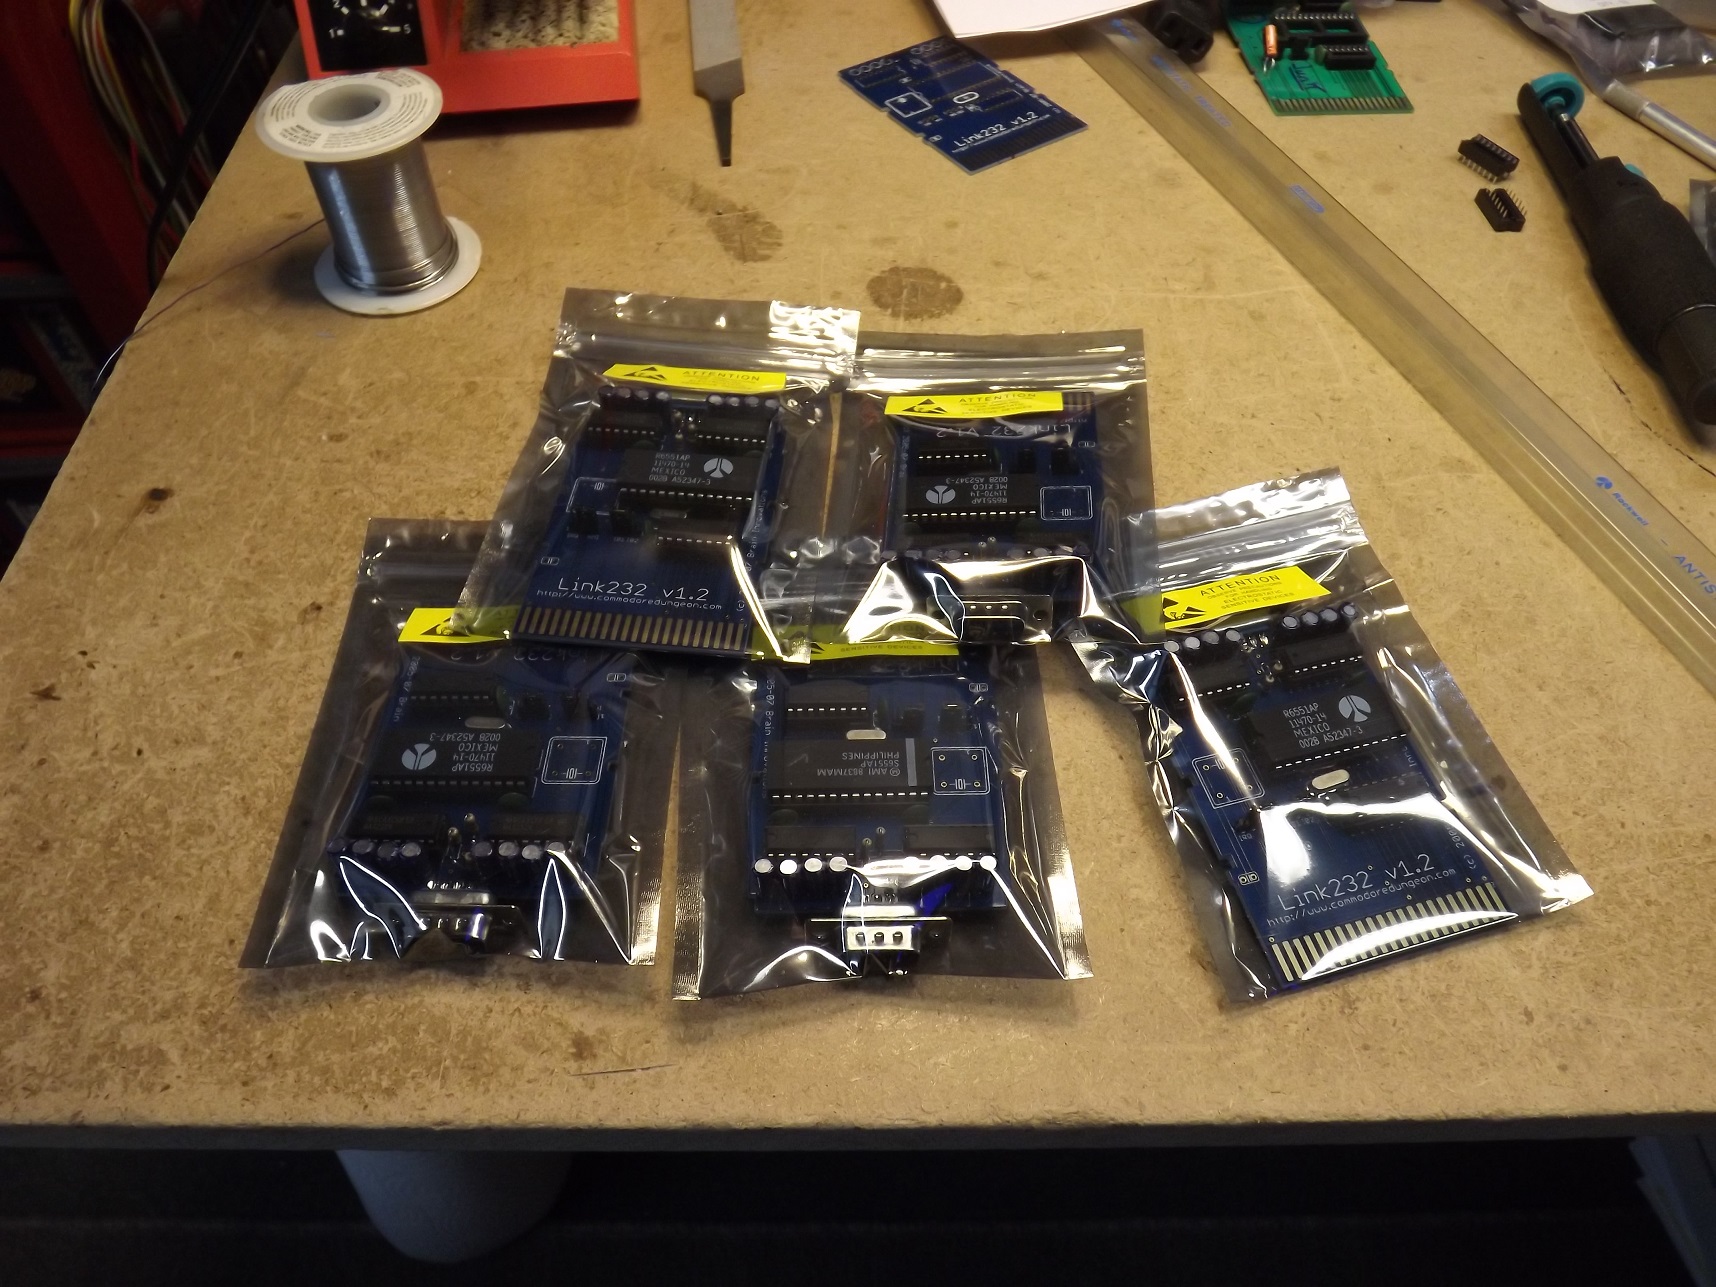
The NEW Link232 PCB's have arrived and they look awesome. I immediately got to work assembling one so I could test them. I get a rush from new PCBs and I get a headache looking up parts :) . The first one tested perfect, that went in to an antistatic bag with the number "1" placed on it and put away in the collection. I had five people that already said they wanted units when I got them tested and so i did the next 5.
If you are interested in an ez232(user port) or Link232 adapter (expansion port), please email me.
A belated Happy New Year to all my Commodore friends ok and those that are NOT Commodore people that just read my blog.
For some that know, Dopple used to do the ez232 and Link232 RS232 devices for the 8 bit Commodore computer, I have picked up all his parts and will now be the one building and selling these devices. I currently have 15 PCBs left from the PCB run that Dopple did and will be using those until they run out before I get a new run/color change on those.
I just put in an order for 20 Link232 PCB's with gold contacts and some minor changes. The new boards will have blue silkscreen.